So I realise I have disappeared for a while now and just wanted to keep those blogger followers who are interested, up to date with what's been going on.
I have basically been studying a new animation method which has taken up a fair bunch of my time, but on another side of things, I have plans to use this new method to demonstrate the next part of my video making which is a clear example of Shutter Speed, Aperture and ISO and how they work together in photography.
Whilst many of you are already quite familiar with this now, I think it's important that those who aren't completely up to date with how the three aspects work, can now see it clearly and without all the technical mumbo jumbo that quite often gets pushed in peoples faces! I hope to achieve this with the animation I intend to make.
I am also preparing for a trip to the USA which will take me away for about 3 months. With this is in mind I hope to leave my YouTube channel at a point where people can use what is on there and avoiding as many unanswered questions as possible so we will see what I manage to get covered in the next 4 weeks before I go.
I'm really looking forward to the trip and I will try to keep posting pictures here and on my Facebook page as I go so that you can see what sort of places I am discovering and what sort of photography I capture along the way.
I also plan to do some quick tip sheets that you can print out and use to troubleshoot if you are in the middle of photographing something and you can't figure out your settings.
On a completely different note, to anyone who is interested in this news, I recently found out that Glen Keane, one of the most talented and down to earth animators I have seen in action (not in real life unfortunately but on video), has taken the decision to retire from Disney.
Whilst some may not care about this information, I find Glen Keane a real inspiration to work from and his passion in his work and the way that we completely embodies the characters he works on is fascinating. He surely will be missed from the animation community but I hope he enjoys his deckchair and beer in the garden!
So anywho, there is the quick run through where I have been and what I really hope to achieve/create in the next 4 weeks before I go.
FD :)
Monday, 26 March 2012

Friday, 2 March 2012
Editing Levels in Photoshop
I have just put on a quick video on how to use the Levels tool in Photoshop.
Levelling is great for editing things like colour, shadow and highlights and it is done very quickly. Sometimes when I am editing I feel like I have overdone it when I compare it to the original, but then I sit back and think about how it would look if I hadn't seen the original and I always feel happy with the result.
If you have access to Photoshop, it's a great tool to use and experiment with as each picture is fun to edit and the boost colours etc :)
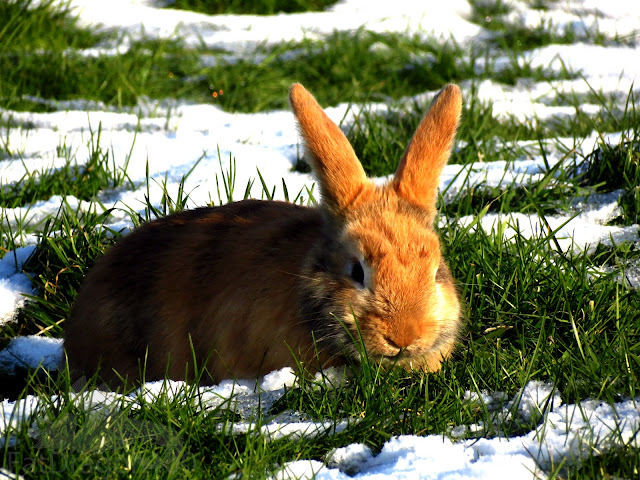
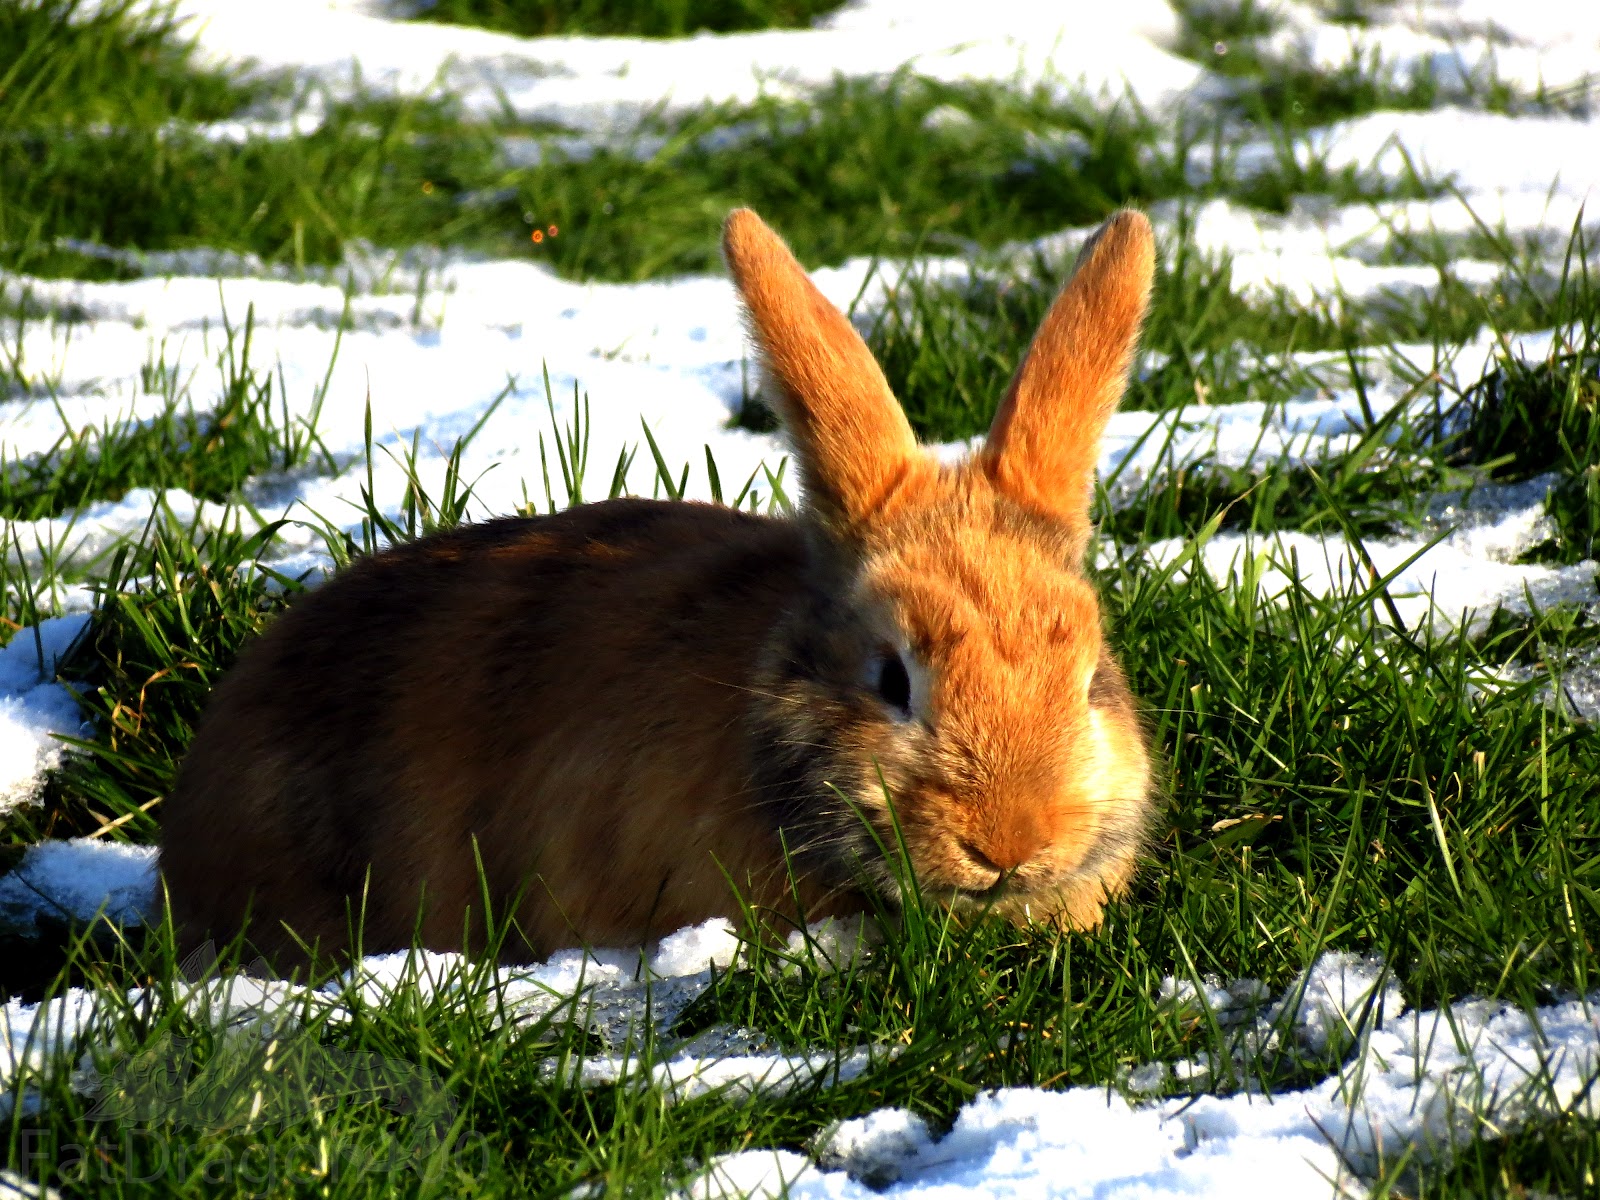
Here's some before and after shots:




Levelling is great for editing things like colour, shadow and highlights and it is done very quickly. Sometimes when I am editing I feel like I have overdone it when I compare it to the original, but then I sit back and think about how it would look if I hadn't seen the original and I always feel happy with the result.
If you have access to Photoshop, it's a great tool to use and experiment with as each picture is fun to edit and the boost colours etc :)
Here's some before and after shots:




Sunday, 26 February 2012
HDR Photography
I am just exporting a tutorial for HDR Photography.
If you are interested in doing this with the SX40, you will need to have the CHDK installed on your memory card in order to use RAW files. You can see how to do this Here, remember that this method requires a memory card that is 4GB or less in size.
Here is today's example of the HDR image I made for the tutorial:

If you are interested in doing this with the SX40, you will need to have the CHDK installed on your memory card in order to use RAW files. You can see how to do this Here, remember that this method requires a memory card that is 4GB or less in size.
Here is today's example of the HDR image I made for the tutorial:

AEB (Auto Exposure Bracketing)
I know I mentioned this yesterday but I just want to run through Auto Exposure Bracketing pre-HDR (High Dynamic Range Photography).
When we move onto HDR things get quite complicated with the SX40 so I want to just run through the reasons for exposure bracketing first.
The idea of exposure bracketing is that you can guarantee that you get the right exposure for your image, especially if you don't have the time to keep reviewing back through your photos.
Exposure is essentially how bright your images are coming out. Over exposed images are often too bright and too much light is affecting the image. Vice Versa, under exposed images are too dark and not enough detail can be seen.
Imagine you are at an event, you have your images set up perfectly so you start snapping away. However, as the light changes and as you move indoors and outdoors, that lighting is going to change, and if you don't keep an eye on your settings, some of your pictures are going to come out too dark or too light because you haven't been paying attention to the light changing around you.
However at events, we don't have time to sit there reviewing every picture we take. The same with taking pictures of family gatherings or pets or when we are going around on a tour of a building, there's not always time to check our pictures came out OK. With bracketing, we can tell the camera to automatically take three pictures every time we take a shot. This means that, if our original settings come out badly, we have one picture that is brighter and one picture that is darker, and if we did have a moment where our original settings weren't right, likeliness is that one of the other pictures came out OK instead.
Obviously, you will need to take into consideration that you will now have 3x the amount of pictures to look through and also 3x less space on our memory card so really this isn't ideal to use every day, all the time. But it certainly helps when we are photographing something important.
So just to show you, these three pictures were taken with bracketing this morning...
Original:

Under Exposed:

Over Exposed:

So you can imagine, had the sun gone in, and I was still using these settings, the over exposed image would have come out bright enough and the original may have been a little bit too dark. The under exposed would have been way too dark but at least by have bracketing switched on, the over exposed image would have redeemed the bad settings on the original.
When we move onto HDR things get quite complicated with the SX40 so I want to just run through the reasons for exposure bracketing first.
The idea of exposure bracketing is that you can guarantee that you get the right exposure for your image, especially if you don't have the time to keep reviewing back through your photos.
Exposure is essentially how bright your images are coming out. Over exposed images are often too bright and too much light is affecting the image. Vice Versa, under exposed images are too dark and not enough detail can be seen.
Imagine you are at an event, you have your images set up perfectly so you start snapping away. However, as the light changes and as you move indoors and outdoors, that lighting is going to change, and if you don't keep an eye on your settings, some of your pictures are going to come out too dark or too light because you haven't been paying attention to the light changing around you.
However at events, we don't have time to sit there reviewing every picture we take. The same with taking pictures of family gatherings or pets or when we are going around on a tour of a building, there's not always time to check our pictures came out OK. With bracketing, we can tell the camera to automatically take three pictures every time we take a shot. This means that, if our original settings come out badly, we have one picture that is brighter and one picture that is darker, and if we did have a moment where our original settings weren't right, likeliness is that one of the other pictures came out OK instead.
Obviously, you will need to take into consideration that you will now have 3x the amount of pictures to look through and also 3x less space on our memory card so really this isn't ideal to use every day, all the time. But it certainly helps when we are photographing something important.
So just to show you, these three pictures were taken with bracketing this morning...
Original:

Under Exposed:

Over Exposed:

So you can imagine, had the sun gone in, and I was still using these settings, the over exposed image would have come out bright enough and the original may have been a little bit too dark. The under exposed would have been way too dark but at least by have bracketing switched on, the over exposed image would have redeemed the bad settings on the original.
Saturday, 25 February 2012
Frensham Ponds and Time Lapse!
Hi All,
I took a trip to a place called Frensham Ponds which is in Farnham in Surrey. It's a really nice place to go and take photos as they have sail boats and little beaches and a few little walking paths to stroll along. So originally I was going to take some photos with bracketing as this is my next YouTube tutorial. However, as I sat there in the sun which haven't seen in a long while (not properly anyway), I decided to leave the camera running on a video with my 16GB card and did a time lapse by speeding up the footage in Window Movie Maker.
The results can be seen here:
Vid1
And here:
Vid2
I hope to do another one of these at a sunset if I can. The great thing is that you can just leave it running, no other efforts needed :) I had to cut the first video together as the vid cut out at around 17 mins. The video as a whole is around 35 mins long, compressed into about 34 seconds. It's cool to watch the clouds moving I think :)
So of course I also went to take some photos and got some pretty funky results! I accidentally stumbled across a couple more Bokeh rules/ideas for those who are interested:
1 - If you take something with Macro focus this often gives you a Bokeh effect so you don't always have to be far back if you are right up against your subject.
2 - Think about some kind of foreground Bokeh instead. You still need a big gap between you and your subject, but this time make sure there is something a lot closer to you than your subject. This will majorly blur in the foreground as the camera can't focus on it because it will be too close and it will look like a foreground Bokeh.
As an example, here are some foreground Bokeh style pics I took today:


And here's the Macro focus version of Bokeh:

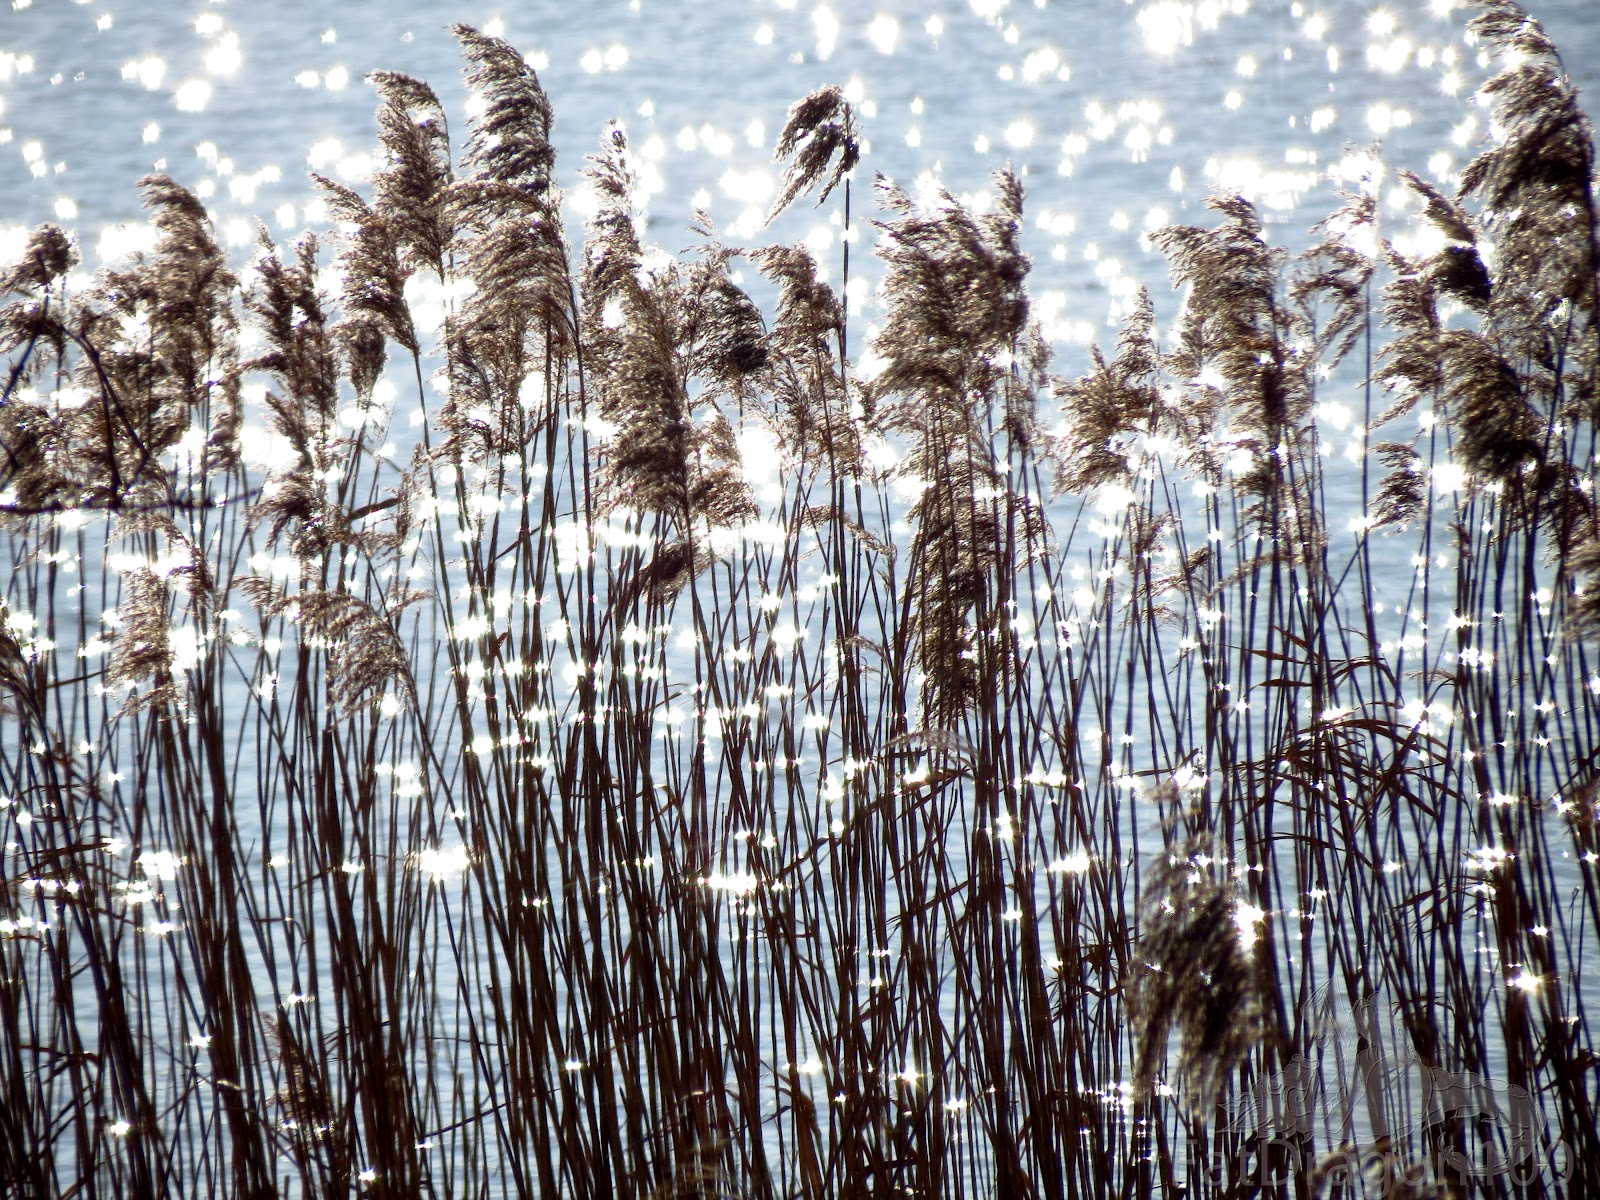
So off of the subject of Bokeh before I bore everyone, here's some other pics I took on my jolly old walk through Frensham :)


I took a trip to a place called Frensham Ponds which is in Farnham in Surrey. It's a really nice place to go and take photos as they have sail boats and little beaches and a few little walking paths to stroll along. So originally I was going to take some photos with bracketing as this is my next YouTube tutorial. However, as I sat there in the sun which haven't seen in a long while (not properly anyway), I decided to leave the camera running on a video with my 16GB card and did a time lapse by speeding up the footage in Window Movie Maker.
The results can be seen here:
Vid1
And here:
Vid2
I hope to do another one of these at a sunset if I can. The great thing is that you can just leave it running, no other efforts needed :) I had to cut the first video together as the vid cut out at around 17 mins. The video as a whole is around 35 mins long, compressed into about 34 seconds. It's cool to watch the clouds moving I think :)
So of course I also went to take some photos and got some pretty funky results! I accidentally stumbled across a couple more Bokeh rules/ideas for those who are interested:
1 - If you take something with Macro focus this often gives you a Bokeh effect so you don't always have to be far back if you are right up against your subject.
2 - Think about some kind of foreground Bokeh instead. You still need a big gap between you and your subject, but this time make sure there is something a lot closer to you than your subject. This will majorly blur in the foreground as the camera can't focus on it because it will be too close and it will look like a foreground Bokeh.
As an example, here are some foreground Bokeh style pics I took today:


And here's the Macro focus version of Bokeh:

So off of the subject of Bokeh before I bore everyone, here's some other pics I took on my jolly old walk through Frensham :)



Tuesday, 21 February 2012
Understanding Shutter Speed...
So here's the next downloadable help-sheet. I hope it helps and don't be afraid to send your opinions this way whether they be good or bad ;)

There is a link to the file on my Deviant art Here

Saturday, 18 February 2012
Advancing Bokeh.
So I had a better breakthrough with Bokeh. It's still not perfect but is certainly better than I previously had.
Here are some rules to making bokeh:
1 - Use a low Aperture, as low as the camera will let you.
2 - In relation to number one, set your camera to aperture value as that will be the priority for the camera when choosing the other settings.
3 - Make sure the distance between you and your subject is a big one.
4 - Make sure the distance between your subject and the background is also very large.
5 - Make sure your zoom is as far as it can realistically go... the more zoom, the better the background blur.
6 - Make sure your subject is well lit.
7 - Make sure your background is also well lit and try to avoid backgrounds that have too many large objects as the smaller the objects, the easier they blur!
So with this in mind, I took the following pictures. However, I never was one to remember my own advice! The outside shot of the rabbit in night time wasn't well lit but I will show it as a demo anyway. I also managed to take all of my outdoor pics with my ISO on 3200 which was way too high, I just hadn't turned it back down. On top of this, I also forgot to change my White Balance from Tungsten to Daylight so the pictures are quite pale and blue. Apologies for that but hopefully you will get the idea anyway.
Not everyone will love that I call these pics Bokeh because the circular shapes aren't defined enough but this is the best I could get so hopefully it will help a lot of people when setting up a shot anyway!


Here are some rules to making bokeh:
1 - Use a low Aperture, as low as the camera will let you.
2 - In relation to number one, set your camera to aperture value as that will be the priority for the camera when choosing the other settings.
3 - Make sure the distance between you and your subject is a big one.
4 - Make sure the distance between your subject and the background is also very large.
5 - Make sure your zoom is as far as it can realistically go... the more zoom, the better the background blur.
6 - Make sure your subject is well lit.
7 - Make sure your background is also well lit and try to avoid backgrounds that have too many large objects as the smaller the objects, the easier they blur!
So with this in mind, I took the following pictures. However, I never was one to remember my own advice! The outside shot of the rabbit in night time wasn't well lit but I will show it as a demo anyway. I also managed to take all of my outdoor pics with my ISO on 3200 which was way too high, I just hadn't turned it back down. On top of this, I also forgot to change my White Balance from Tungsten to Daylight so the pictures are quite pale and blue. Apologies for that but hopefully you will get the idea anyway.
Not everyone will love that I call these pics Bokeh because the circular shapes aren't defined enough but this is the best I could get so hopefully it will help a lot of people when setting up a shot anyway!


Subscribe to:
Posts (Atom)